


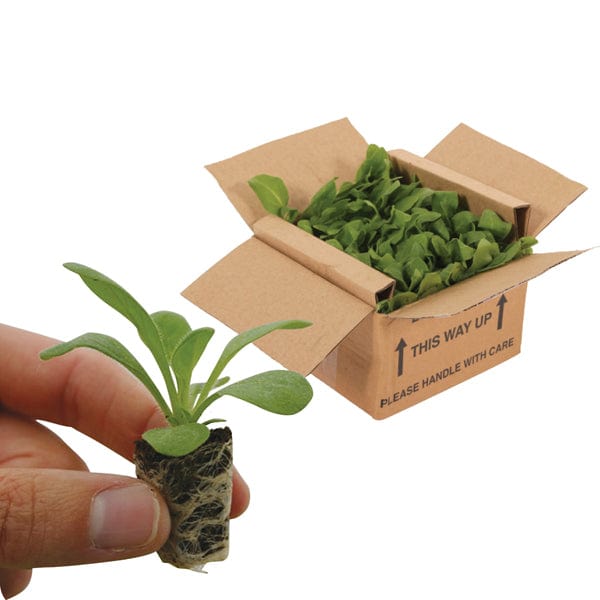
What to do First
After unpacking, put them into a cool, light, well-ventilated and frost free place, away from direct sunlight. Potatoes can be divided into four categories, planted from March to May (after any danger of frosts).
First Earlies – Ready June to July (earlier in some sheltered areas).
Second Earlies – Ready July to August
Early Maincrops – Ready August
Late Maincrop - September onwards
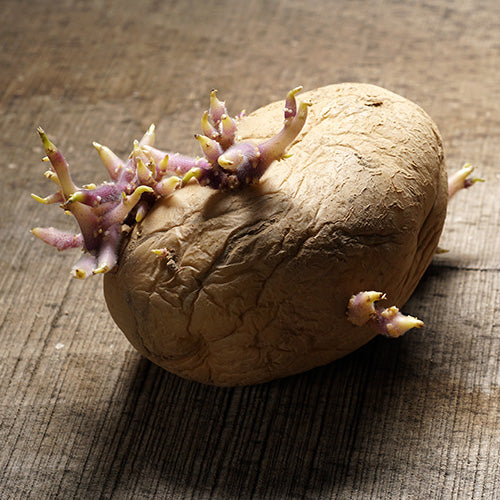
Chitting
The chitting process allows strong green shoots (Chits) to develop on the seed potato tuber before planting. Although not essential it is particularly beneficial for the earlier cropping potatoes, because it gives the potato a quick start thus cropping slightly earlier. Later cropping potatoes are less likely to need chitting as warmer soil temperatures can make a greater difference.
Start chitting (where necessary) by setting the seed potatoes out, side by side, blunt end uppermost, in single layers in seed trays or a wooden box. Place in a light, cool, well-ventilated spot to encourage the development of stocky shoots 2-2.5cm (¾-1in) long, prior to planting.
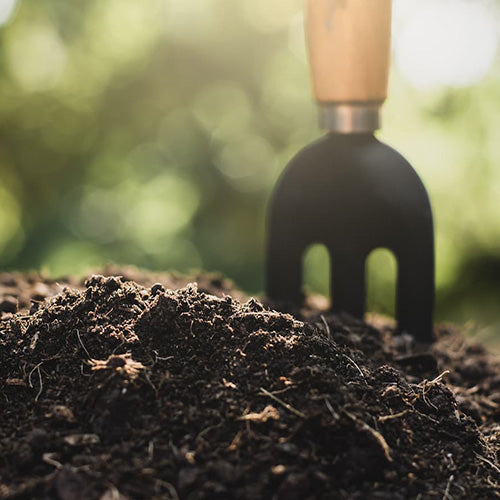
Soil Preparation & Planting
Before planting it is worth considering “Crop Rotation” ; potatoes are susceptible to a wide range of minor pests and also one or two major ones. Potato pests have a limited survival time if they cannot get at the potatoes, so by the standard three crop rotation; potatoes being followed by brassicas followed by another vegetable crop, will help in keeping pests at bay.
Potatoes thrive in deep, fertile and well drained soils. Soil conditions prior to planting are more important than precise planting times. Prepare the soil well before planting, breaking down any clumps and adding a quality fertilizer or manure (such as Orgro). Planting too early in cold, wet soils may cause rotting. We recommend you delay planting until the soil is both warm and moist to touch. In most areas this is in the March to May period.
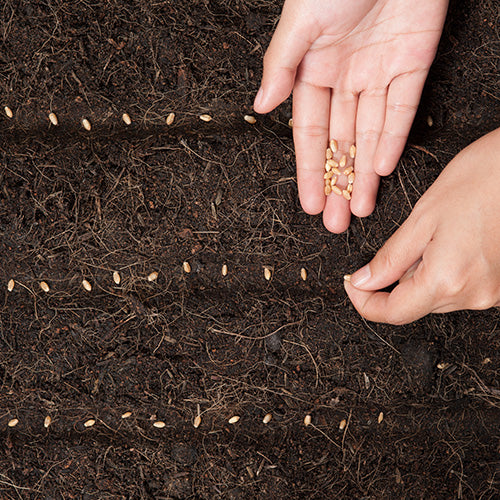
Planting Times & Distances

First and Second Earlies plant from mid to late March, 25 to 30cm (10-12in) apart in rows 60cm (2ft) apart.
All Maincrop tubers plant from early to late April, 30 to 36cm (12-14in) apart in rows 70 to 76cm (28-30in) apart.
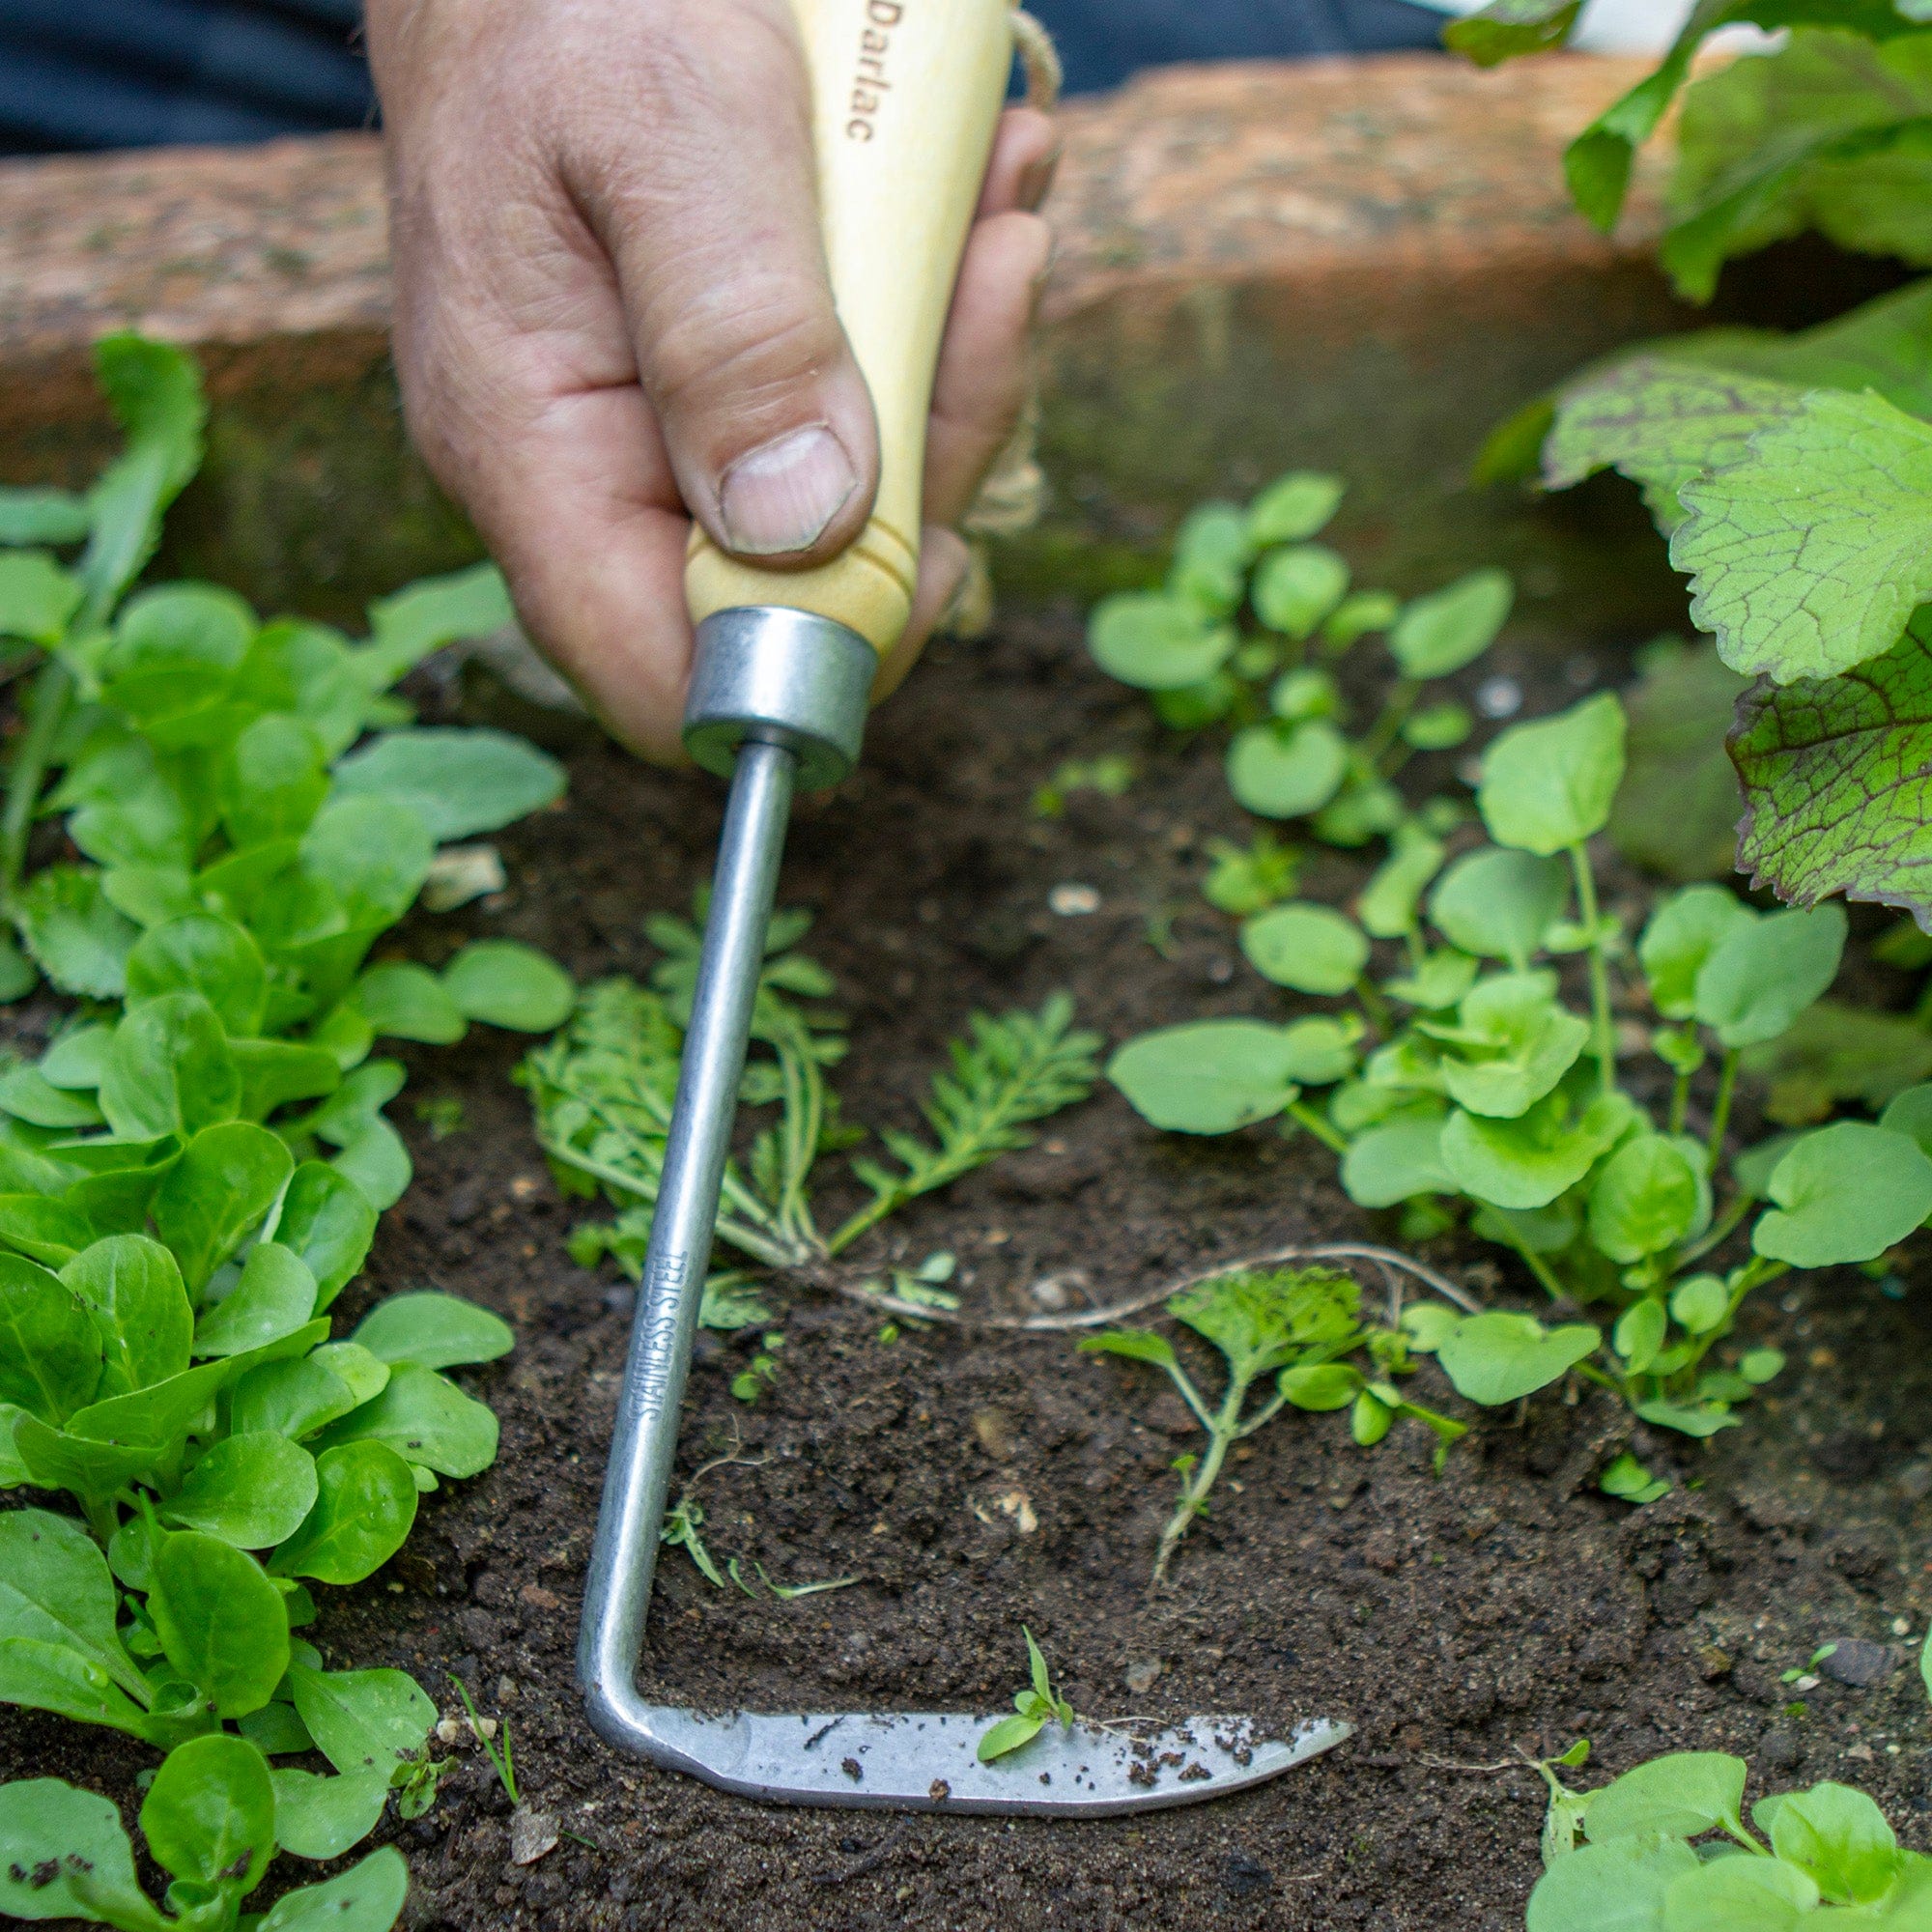
Plant all tubers 10 to 15cm (4-6in) deep. Cover the tubers and any shoots with at least 2.5cm (1in) of soil. Once the shoots appear above the soil surface, they will need to be earthed up by forming ridges. This gives the plant a volume of soil in which to grow; stops the tubers turning green, improves drainage and ventilation. It is also an effective way of controlling weeds. Repeat this process until the foliage is too big to allow it to happen.
Harvesting
Plants are ready to dig for the first “new potatoes” when the tops reach full size. Weather permitting, they will usually attempt to produce flowers, or at least buds, at this time. When harvesting remove all tubers, however small, to avoid problems next year.
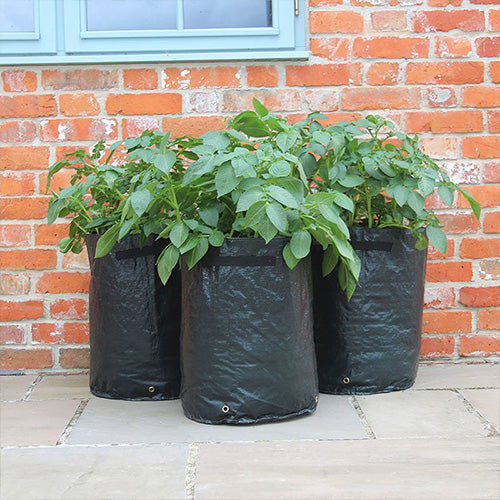
Planting In Containers (Potato Kits)
Place broken pottery, stones or polystyrene crocks in the bottom of your potato planter. These will cover the drainage holes and prevent them getting clogged up with compost.
Place a layer of compost 10cm (4in) deep in the bottom of the pot. Growing-bag compost works well as it leaves the potatoes very clean, but you could also make your own mixture of loamy garden soil and compost.
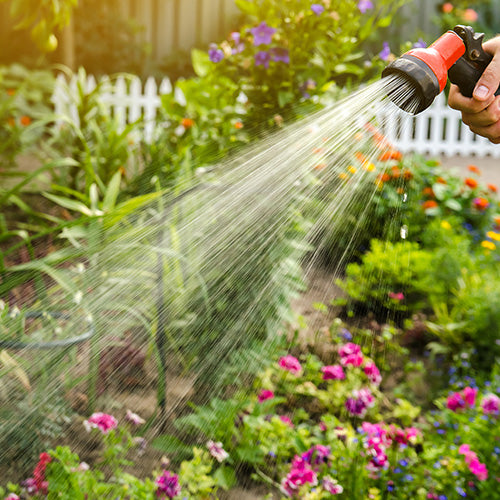
Place five tubers in each pot, positioning them on the surface of the compost and then covering with 2-3in of compost. Water in the tubers until the water drains out of the drainage holes. If the compost is damp, you can probably avoid watering until shoots start to appear. Place the pot in a bright, frost free, sheltered position. When the shoots reach 15cm (6in) tall, add another 10cm (4in) layer of compost on the top. This prevents light from reaching the tubers, and stops them turning green.
Repeat the process of earthing up as the stems lengthen - just leave enough uncovered to allow some leaves to absorb sunlight and grow. Give a liquid feed (a tomato fertilizer, for example), at regular intervals as per the manufacturer’s instructions. Do this even if you have mixed in controlled-release granules on planting, as potatoes are heavy feeders.
NOTE - On late cropping varieties, as the weather turns colder (October), start to protect plants at night and on colder days with either large cloches or fleece. Plants should still be left uncovered on milder days. Straw placed around plants in November will give additional protection in any severe weather. Even when mature, late cropping potatoes keep best if left in the soil and should be dug as needed right up to Christmas and even into the New Year.
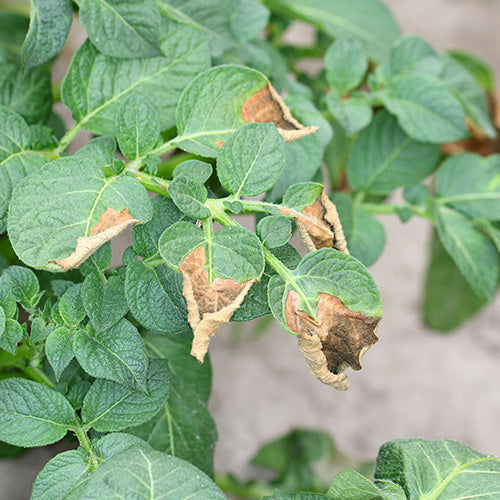
Blight Management
Blight rapidly develops from droplets carried on the wind to form a brown or black circular patch called a lesion. The lesions have a soft, wet appearance and if formed on leaves will show white fungal threads on the underside. Once more than a third of the foliage is infected it is best to remove all foliage off site because the tubers will have stopped growing anyway. This is why first and second earlies are popular, because they largely avoid blight if they harvested early enough. Proprietary fungicides such as Dithane helps keep varieties going longer.
If you suffer from blight, why not try our range of blight resistant Sarpo Potatoes.
Scab Management
Scab is a soil borne bacterial infection. Symptoms of scab may include scab-like raised or slightly sunken rough, corky textured patches on tubers or root surfaces. Unfortunately, the growing conditions needed by potatoes are very close to the conditions that scab thrives in.
Before planting we recommend that tubers are dipped in a diluted solution of D.T. Brown Plant Tonic No.8. By doing this your tubers will be better protected against scab. Practising crop rotation may also help prevent infection. If scab is a problem in your soil, we sell several scab resistant varieties which are more tolerant and resilient to the disease.
Storage
Once harvested be sure to store your potatoes in a cool, dry position, avoiding direct sunlight. For maximizing the quality and duration of harvested spuds we strongly recommend the use of hessian sacks. The hessian blocks direct light whilst allowing any moisture to escape.


