


DT Brown at the
RHS Chelsea Flower Show
2026
Parkinson's UK: A Garden for Every Parkinson's Journey


Tokonoma Garden – Sanumaya no Niwa
Lady Garden Foundation: ‘Silent No More’


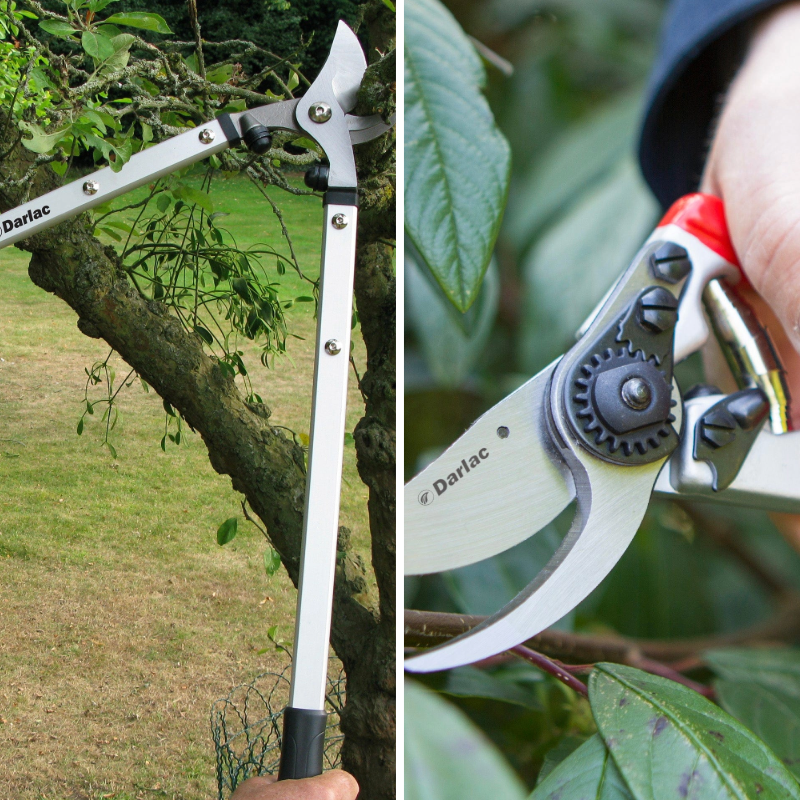
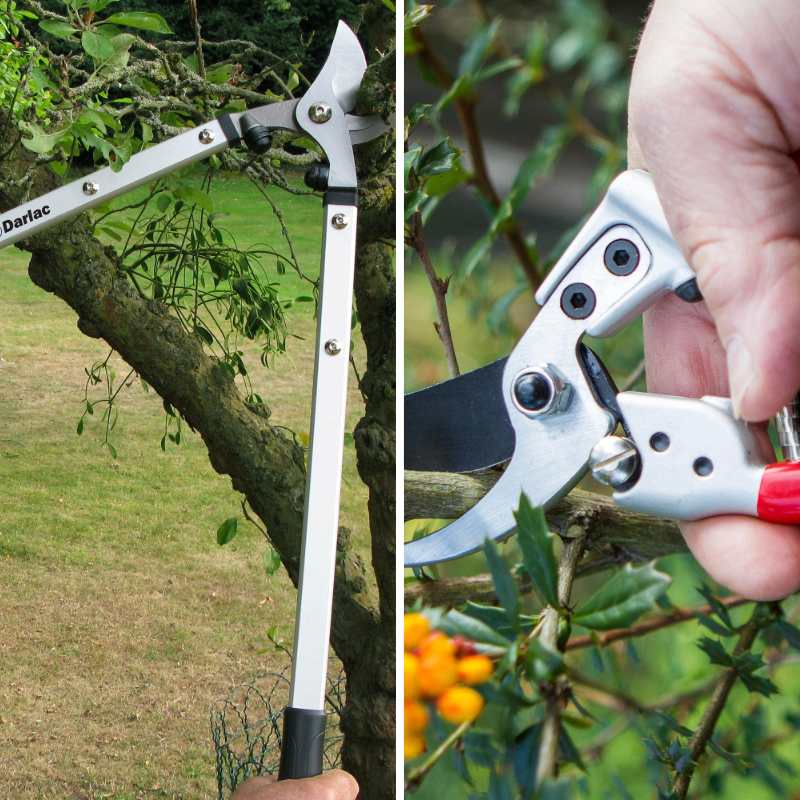
Few flowers deliver quite as much impact for the effort as dahlias. From neat, pom-pom perfection to huge, dinner-plate showstoppers, they flower relentlessly from midsummer right through to the first frost. They’re also wonderfully versatile - equally happy in borders, large pots, and cutting gardens.

Conscientious gardeners who sow only what they need will often be left wondering what to do with leftover seeds. Seed packets containing vegetable seeds, fruit seeds, and flower seeds often contain far more seeds than are necessary for a single year. Here we will look at how to store leftover seeds, how long seed packets last, and whether you can use leftover seeds from last year.
The Three Enemies of Seed Storage
Storing seeds is easy, provided the conditions are right. There are three enemies of seed storage: heat, moisture, and light. At D.T. Brown, foil packs are designed to protect against moisture and light, unlike cheap paper packets, but once they are opened, the clock starts to tick. It's important to store your seeds in a cool, dry, dark place. You can also use silica gel packets, providing they are a safe distance from children in your seed storage, as a desiccant to help them stay dry and keep them in dormancy.
You might also want to consider storing seeds in the refrigerator if you have the space, as this can extend their shelf life and preserve their viability. To give you some idea as to how refrigeration can preserve the life of seeds, the Global Seed Vault is situated underground on Svalbard, an island off the North Coast of Norway. This location was chosen specifically because it is so cold, dark, and dry.
How Long Do Packets of Seeds Last?
It can be really frustrating for gardeners when we sow old seeds, wait a few weeks for them to germinate, only to find that nothing is coming up. Because germination time is wasted, it's important to understand how long seed packets last and how to test seed viability.
The length of time you can store a seed depends a lot on the conditions, but also on the species. Short-lived species include parsnip seeds, allium seeds, and parsley seeds; these seeds typically last just one year and are best sown in the same year they are bought. Medium-lived species include Brassica seeds and bean seeds, and these can last anywhere between three and five years. Some species are very long-lived, such as tomato seeds and cucumber seeds, and their seeds can be stored up to 10 years if the conditions are right. So if you’re wondering how long do tomato seeds last, the answer is quite some time when conditions are right.
When it comes to short-lived species, it's not worth taking the risk. Do not use old parsnip seeds for the sake of the cost of a new packet, as it will just result in disappointment.
While old seeds can germinate, it's important to note that germination rates do drop over time, so you might want to sow more seeds than you would ordinarily, just in case some don't come through.
Can I Use Leftover Seeds from Last Year?
Yes, you can use leftover seeds from last year, provided they were stored correctly and are not from any of the short-lived species listed above. Parsnip seeds, for example, are notoriously short-lived and need to be sown as fresh as possible.
If you're not sure about the viability of your seeds, you can conduct a simple viability test. Here’s how to do it:
Step 1:
Lay a wet paper towel inside an airtight container.
Step 2:
Take a few of the seeds you want to sow out of the packet and lay them spaced out on the wet paper towel.
Step 3:
Leave your container somewhere warm and bright for up to 7 days.
Step 4:
Examine your seeds. If you can see the seed shell splitting open or tiny roots beginning to develop, this is a good sign that your seeds are viable. If some of your seeds have started to germinate, but others haven’t, sow more seeds to compensate for this. You can use these germinated seeds either by lifting them gently off the paper towel or by planting the paper towel itself.
[[ products ]]
How to Store Leftover Seeds for Next Year
Storing leftover seeds for next year is easy when you have a good-quality seed storage tin. These will help to keep out vermin that may eat your seeds. A seed storage tin will also keep your seeds in the dark and dry. However, it’s important that your seed storage is kept somewhere dry and cool. In the fridge is perfect, or in a garage or cool room in your house. Make sure that the seed storage tin is kept closed and that your seeds remain in the packet to avoid confusion about mislabelled seeds.
Long-Lasting Seeds at D.T. Brown
As long as you can keep your seeds dry, cool and away from sunshine, they will keep well. Some seeds naturally have a longer lifespan than others, so make sure you are being realistic with your expectations for storing your seeds. Don’t forget that if you’re unsure, you can carry out a simple seed viability test.
Our foil packs are designed to produce optimum conditions to extend the lifespan of your seeds. Order your seeds from D.T. Brown for freshness and satisfaction guaranteed.
If you have any questions about our wide collection of vegetable, fruit, and flower seeds, or any of our other high-quality products from our range, don’t hesitate to get in touch with us. A member of our team will be more than happy to help you.

Whether you’re about to get started with a new allotment and are looking for a beginner’s allotment plan, or you just want to change the layout of your existing one, making a plan is the best way to make sure you don’t forget anything crucial. Below, we outline why a plan is necessary and explain the various things you should include when learning how to start and plan an allotment.
How to Start an Allotment
Before you begin planning your allotment, you need to take the necessary steps to obtain it in the first place. Allotments are typically run by councils or private associations, so you’ll need to check the availability of your desired site first. This may involve spending some time on a waiting list, so it's best to get your name on the list early. In the meantime, you can still get started on creating the perfect plan while you wait by following the steps below on how to plan an allotment.
Our Steps to a Beginner’s Allotment Plan
If you’re looking forward to getting started with a new allotment layout, making a careful plan and diagram might not be your top priority. It’s a helpful thing to do, though, as it encourages you to problem-solve and think about what your allotment will look like before you get to the stage of actually moving things around. This could save you a lot of time and effort. So, take a look at our allotment layout ideas for a beginner’s allotment plan below to help you get started on creating the ideal space.
Map Out the Available Space
The first step in our list of allotment layout ideas is to determine the dimensions of your plot. Accuracy is vital here, as this step determines the amount of space you have to work with. So, spend a morning measuring up your allotment with a tape measure. This can also be a good opportunity to assess what’s already on your plot, such as weeds, the previous owner’s left-behind plants and natural features like drainage, soil quality and natural light availability.
Don’t forget to account for immovable or permanent features. If there is a shed, paved path, fence, tree or some other feature that either can’t be moved or you don’t intend to move, make sure to plot it on your diagram. If you can’t have a bed there, mark it on the diagram so you can get a better idea of how much bedding space you have.
[[ products ]]
Designing Your Paths
Next, you need to determine the size of your paths. Paths are essential to avoid trampling over your plants all the time, so don’t overlook them! We recommend taking into account the size of your wheelbarrow, as this vital bit of kit needs to be able to fit along your paths to carry things through your allotment.
Mark your paths with a width that’s at least as wide as the widest point of your wheelbarrow, then add a couple of inches on either side to be safe. This should give you room if you need to squeeze past your wheelbarrow on the path for any reason.
It’s also worthwhile to plan what material your paths will be made out of at this stage. Different materials offer distinct advantages, as wood chips can improve soil quality after breaking down and are cost-effective. Alternatively, a sturdier substance, such as gravel or crushed stone, can provide a more durable surface if needed.
Consider What You Plan to Grow
Thirdly, consider what you intend to grow, taking into account how well your plants will grow in your climate and how they will best fit within your space. If you want to do crop rotation, which is recommended, you’ll need at least three similarly sized and shaped beds to rotate the crops between – and more if you’re planning on a longer rotation period. You may also need additional beds for planting perennial seeds, as the plants remain in one bed for their entire life.
It’s also worth considering the increasing demands of certain crops. If a particular vegetable plant, fruit plant, or flower plant needs lots of sunlight to thrive, then that may affect where it goes in the allotment, and you may wish to plan this out ahead of time to ensure you have enough beds in the right places for all your plants.
Map Out Bed Sizes and Arrangements
Now that you have a rough idea of what needs to go where and what space is available, it’s time to consider how many beds you’ll have and their size and shape. Too wide, and you might struggle to reach plants in the centre; too narrow, and you may not have enough space in each bed for plants as they mature and grow larger.
An easy way to visualise this is to cut rectangular ‘bed’ stand-ins out of old newspapers or magazines and place them on your diagram to see how your beds could be arranged. This may require some trial and error, but it can help make your allotment space easier to understand. Don’t forget to plan for any pre-existing water irrigation systems, as this may alter the variety of layouts that are possible.
At this stage, you might also want to begin assigning specific crops to specific beds – or, for example, assigning particular beds as crop rotation beds. This is the ideal time to consider companion planting if there’s a specific list of crops you intend to grow. You can also use our growing guide, which features a bed planner to help you keep track of all the essential details of your crops in one place.
Space for Storage
Finally, don’t forget the movable essentials. You’ve taken note of the space taken over by sheds, trees and fences, but what about the items that can go anywhere within your plot and yet haven’t so far been assigned a place? For instance, this could be a water butt or a compost bin, or storage for garden equipment, flower seeds or flower bulbs and tubers.
Whatever the essential items are, ensure you’ve left ample space for them without blocking paths or beds. Once you’ve done that, you should have a reasonably detailed beginner’s allotment plan of your intended allotment layout - now all you need to do is bring it to life!
Frequently Asked Questions on Starting an Allotment
How Much Time Does an Allotment Take?
The amount of time you spend on your allotment will depend on the size of your plot and how much you grow. Generally, people spend between four and six hours a week in the spring and summer on planting, weeding, and watering. In autumn and winter, you will have less to do, and typically a couple of hours every fortnight will be enough. Visiting your allotment little and often is the best way to stop jobs piling up.
What Is a Good Size for an Allotment Bed?
A manageable size for an allotment bed is usually 1.2m (4ft) wide. By keeping to this length, it will be wide enough to fit several rows of crops but narrow enough to reach the middle without stepping on the soil. Bed length can vary, but many gardeners choose 2-3m (6-10ft) per bed. This makes planning, rotation, and maintenance much easier, especially when you’re starting out.
Can I Use Pesticides on My Allotment?
Most allotment sites discourage or restrict the use of pesticides to protect wildlife and maintain soil health. Instead, organic methods such as garden netting, companion planting, or encouraging natural predators (such as ladybirds for aphids) are recommended. You should check your site’s rules if you intend to apply anything. If chemicals are permitted, you must follow safety guidelines carefully.
Get Gardening with D.T. Brown Seeds
We hope our allotment layout ideas have given you all the tips you need for your beginner’s allotment plan! If you’re looking for more allotment and gardening tips, you can find all of our expert advice in our gardening blog.
If you’d like to ask us about our range of gardening supplies, such as our vegetable seeds and vegetable plants, feel free to get in touch with any questions. A member of our team will be more than happy to help.

Few things lift everyday cooking quite like fresh herbs. A handful of basil torn over pasta, rosemary crackled onto roast potatoes, or parsley snipped straight into a salad can transform a meal in seconds. Yet many of us share the same frustrating experience: a lush supermarket basil plant that looks perfect on Monday and is completely dead by Friday.
Growing your own herbs, especially from seed, is a completely different story - and with the right approach, a home-grown herb garden can provide fresh flavour for months.
This guide will take you through the entire journey - from how to grow herb seeds successfully indoors and outdoors, when (and how) to harvest, and finally, how to preserve herbs so they still taste incredible months later.
How to Grow Herbs (Outdoors)
Outdoor herb growing is simple, productive, and often the most forgiving option.
The first thing to understand is that herbs fall into two main camps:
- Annual herbs (basil, coriander, dill): fast-growing, short-lived, and best sown little and often
- Perennial herbs (rosemary, thyme, sage, chives): planted once and harvested for years
Most herbs prefer:
- A sunny, sheltered position
- Free-draining soil (they hate sitting wet)
- Moderate feeding - too much fertiliser reduces flavour
Sow annual herbs directly outdoors from spring onwards once frost risk has passed. Perennial herbs can be sown or planted and will slowly establish into long-term plants.
Coriander deserves special mention: it has a habit of bolting (flowering) quickly in warm UK summers. This isn’t failure - it’s normal. The solution is frequent sowing, not trying to make one plant last forever.
How to Grow Herbs Indoors
Indoor herb growing is hugely popular - but it’s also where most problems happen.
That supermarket basil plant that collapsed? It was grown under artificial light, pushed hard with fertiliser, and crammed with multiple plants in one pot. Once it hits a windowsill, it simply can’t cope.
Growing from seed is different. You control the pace.
Key indoor rules:
- Choose a bright, south-facing windowsill
- Never place herbs on top of a radiator - cooked roots are a death sentence
- Use free-draining compost and pots with drainage holes
- Water little and often, never leaving pots soggy
Herbs like parsley, basil, and chives grow well indoors from seed. Woody herbs can be grown indoors short-term, but are generally happier outdoors or in cool, bright conditions.
For lots more advice, read our blog on ‘Creating a herb garden indoors’.
The Art of Harvesting
Harvesting herbs isn’t just about timing - it’s about flavour.
The best moment to harvest is in the morning, after the dew has dried but before the sun gets hot. This is when essential oil levels are at their highest.
Always:
- Use sharp scissors or snips
- Never take more than one-third of the plant at a time
- Regularly harvest to encourage bushier growth
For woody herbs like rosemary and thyme, follow RHS guidance and prune lightly but often. This prevents plants from becoming woody and leggy, extending their life.
The Best Way to Preserve Herbs: Drying vs. Freezing
This is where many gardeners go wrong - but also where the biggest rewards lie.
Why Dry Woody Herbs
Herbs like rosemary, thyme, sage, and oregano have tough leaves and low moisture content. Drying concentrates their flavour.
A simple test:
- A properly dried rosemary needle will snap cleanly
- If it bends, it’s not ready and will go mouldy in storage
Avoid air-drying in a damp kitchen. If your home is humid, use a dehydrator or an oven on its lowest setting with the door slightly ajar.
Why Freeze Soft Herbs
Soft herbs like basil, parsley, coriander, and chives lose much of their flavour when dried. Freezing is far superior.
A brilliant kitchen trick is to chop herbs finely, pack them into ice cube trays, cover with water or olive oil, and freeze for instant cooking portions.
Freezing locks in essential oils and colour - perfect for winter cooking.
Build a herb garden that works as hard as your kitchen does
Getting the most out of your herb garden means thinking beyond the pot. It’s about understanding how each herb grows, when it tastes best, and how to preserve that flavour long after the growing season ends.
Grow from seed, harvest with intention, and preserve wisely - and you’ll never look at a £2 supermarket pot the same way again.
In summary:
- Grow herbs from seed for stronger, longer-lasting plants
- Annual herbs need regular resowing; perennials are long-term investments
- Indoor herbs need light, not heat
- Harvest in the morning for maximum flavour
- Dry woody herbs, freeze soft herbs for best results
Explore our full range of Herb Seeds, Pots & Planters, and Harvesting Tools — and enjoy fresh flavour all year round.
Sign up to our newsletter
Sign up to our newsletter for tips, ideas, and exclusive updates to help you grow your own