


Whether you’re about to get started with a new allotment or you just want to change the layout of your existing one, making a plan is the best way to make sure you don’t forget anything crucial. Below, we outline why a plan is necessary and explain the various things you should include.
How to plan an allotment
If you’re looking forward to getting started with a new allotment layout, making a careful plan and diagram might not be your top priority. It’s a helpful thing to do, though, as it encourages you to problem solve and think about what your allotment will look like before you get to the stage of actually moving things around. This could save you a lot of time and effort.
Map out the available space
The first thing to do is to set out the dimensions of your plot. Accuracy is vital here, as this step will tell you how much space you have to work with. Spend a morning measuring up your allotment with a tape measure - this can also be a good opportunity to assess what’s already on your plot, such as weeds, the previous owner’s left behind plants and natural features like drainage, soil quality and natural light availability.
Don’t forget to account for immovable or permanent features. If there is a shed, paved path, fence, tree or some other feature that either can’t be moved or you don’t intend to move, make sure to plot it on your diagram. If you can’t have a bed there, mark it on the diagram so you can get a better idea of how much bedding space you have.
Determine the width of your paths
Next, you need to find out how big your paths will need to be. Paths are essential to avoid trampling over your plants all the time, so don’t overlook them! We recommend taking into account the size of your wheelbarrow, as this vital bit of kit needs to be able to fit along your paths to carry things through your allotment.
Mark your paths with a width that’s at least as wide as the widest point of your wheelbarrow, then add a couple of inches either side to be safe. This should give you room if you need to squeeze past your wheelbarrow on the path for any reason.
Consider what you plan to grow
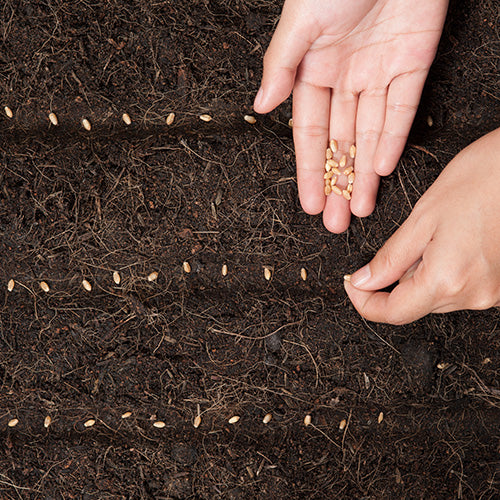
Thirdly, consider what you intend to grow. If you intend to do crop rotation, which is recommended, you’ll need at least three similarly sized and shaped beds to rotate the crops between - and more if you’re planning on a longer rotation period. You might also need other beds for perennial plants that stay in one bed for life.
It’s also worth thinking about the growing requirements of certain crops. If a particular plant needs lots of sunlight to thrive, then that may affect where it goes in the allotment, and you may wish to plan this out ahead of time to ensure you have enough beds in the right places for all your plants.
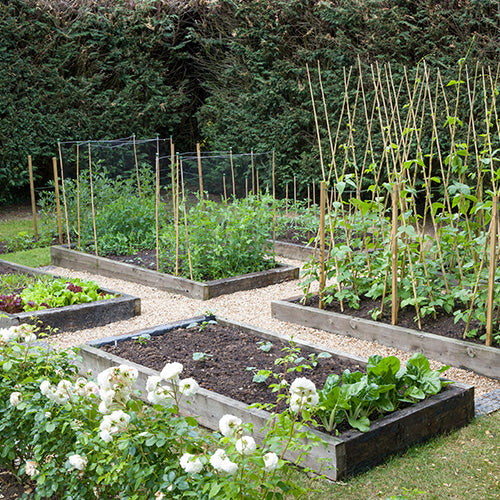
Map out bed sizes and arrangements
Now that you have a rough idea of what needs to go where and what space is available, it’s time to think about how many beds you’ll have and consider their size and shape. Too wide and you might struggle to reach plants in the centre; too narrow and you may not have enough space in each bed for plants as they mature and grow larger.
An easy way to visualise this is to cut rectangular ‘bed’ stand-ins out of old newspapers or magazines and place them on your diagram to see how your beds could be arranged. This may take a bit of trial and error, but it can be helpful to make understanding your allotment space easier. Don’t forget to plan for any pre-existing irrigation systems, as this may alter the variety of layouts that are possible.
At this stage, you might also want to begin assigning specific crops to specific beds - or, for example, assigning particular beds as crop rotation beds. This is the ideal time to consider companion planting if there’s a specific list of crops you intend to grow.
Don’t forget to include for storage
Finally, don’t forget the movable essentials. You’ve taken note of the space taken over by sheds, trees and fences, but what about the items that can go anywhere within your plot and yet haven’t so far been assigned a place. For instance, this could be a water butt or a compost bin, or storage for tools, seeds and bulbs.
Whatever the essential items are, make sure you’ve remembered to leave ample space for them without blocking off paths or beds. Once you’ve done that, you should have a reasonably detailed plan of your intended allotment layout - now all you need to do is bring it to life!


