

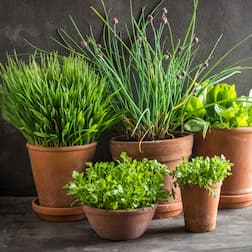


What To Do First
After unpacking, put them into a cool, light, well-ventilated and frost free place, away from direct sunlight.
Winter hardy varieties can be planted in early autumn, otherwise plant between February and April, as soon as the soil is sufficiently dry and warm; in practice this is usually late winter or early spring for sandy soils, and mid-spring for clay-based soils. Heat-treated sets (which have had their flowering potential suppressed, so are bolt resistant) should not be planted before late March or April.
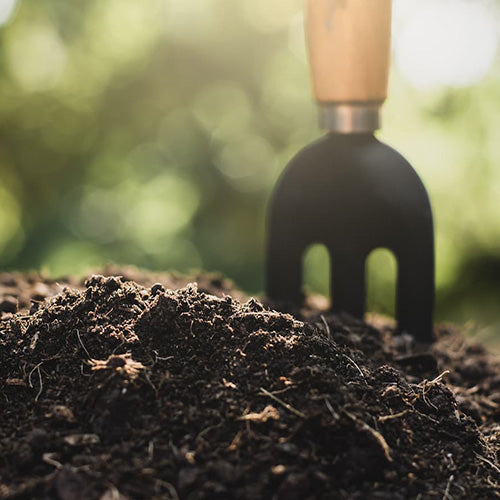
Prepare the soil by digging over and incorporating some general-purpose fertilizer, work the soil down to a fine tilth as if preparing a seed bed.
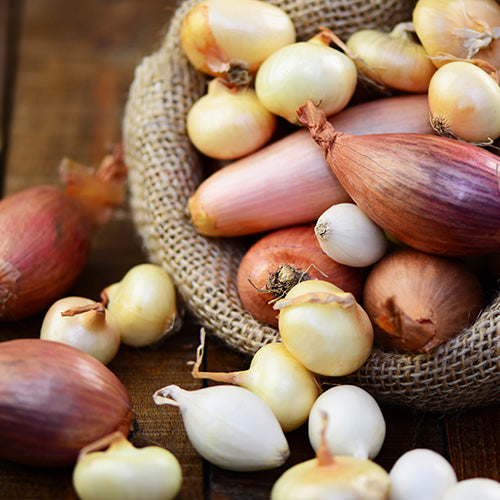
Care & Cultivation Of Onions & Shallots
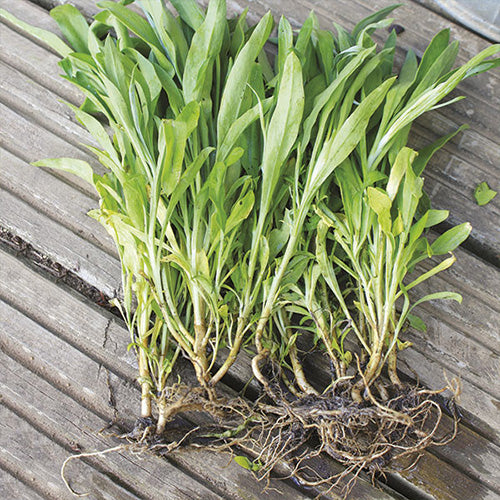
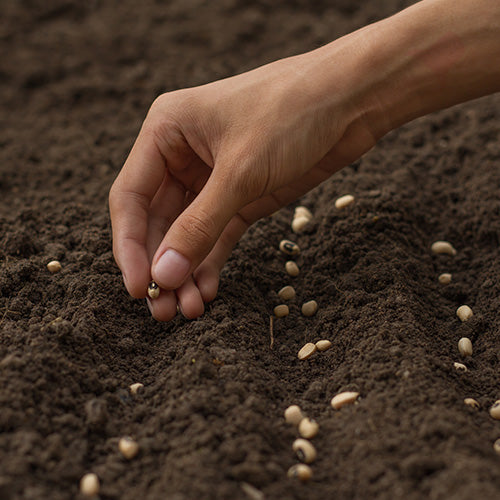
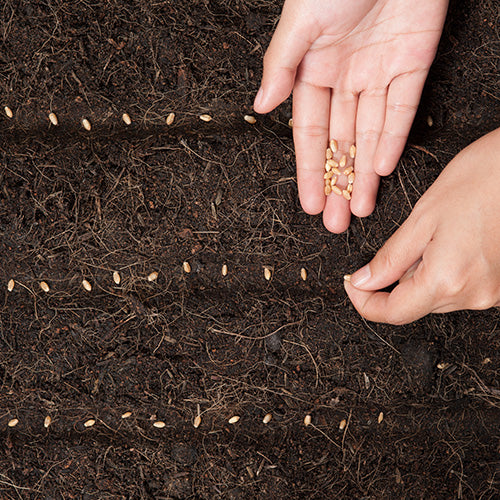
Onion and shallot sets are planted into a shallow drill (groove) in the soil, created with a string line and a draw hoe, or by laying a plank across the bed and running a trowel along its edge. The drill should be about the same depth as the set, or a bit less for some of the longer sets (many shallots, for example).
Remove any loose papery skins before planting the sets. Push the sets into the soil at the base of the drill, with their pointed tips upwards. Spacing can be anything from 2.5cm (1in) to 10cm (4in) apart, depending on the size of bulbs. Closer spacing results in large numbers of small bulbs, whereas wider spacing results in a smaller number of large bulbs; 5-7.5cm (2-3in) usually works well.
Fill in the drill with soil by running the edge of the rake along its edge to draw soil over the sets, or use the trowel in a similar fashion. Use the trowel to firm in the sets. When they are planted, the tips at least should still be protruding from the soil surface.
In the spring there is rarely the need to water newly planted sets. But in dry spells later on in the summer and autumn, new plantings of overwintering onion sets should be watered in after planting.
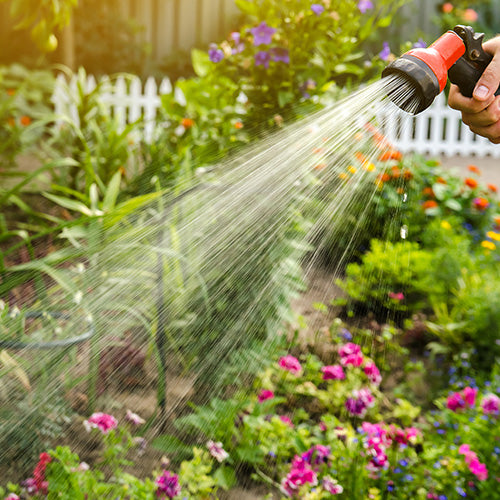
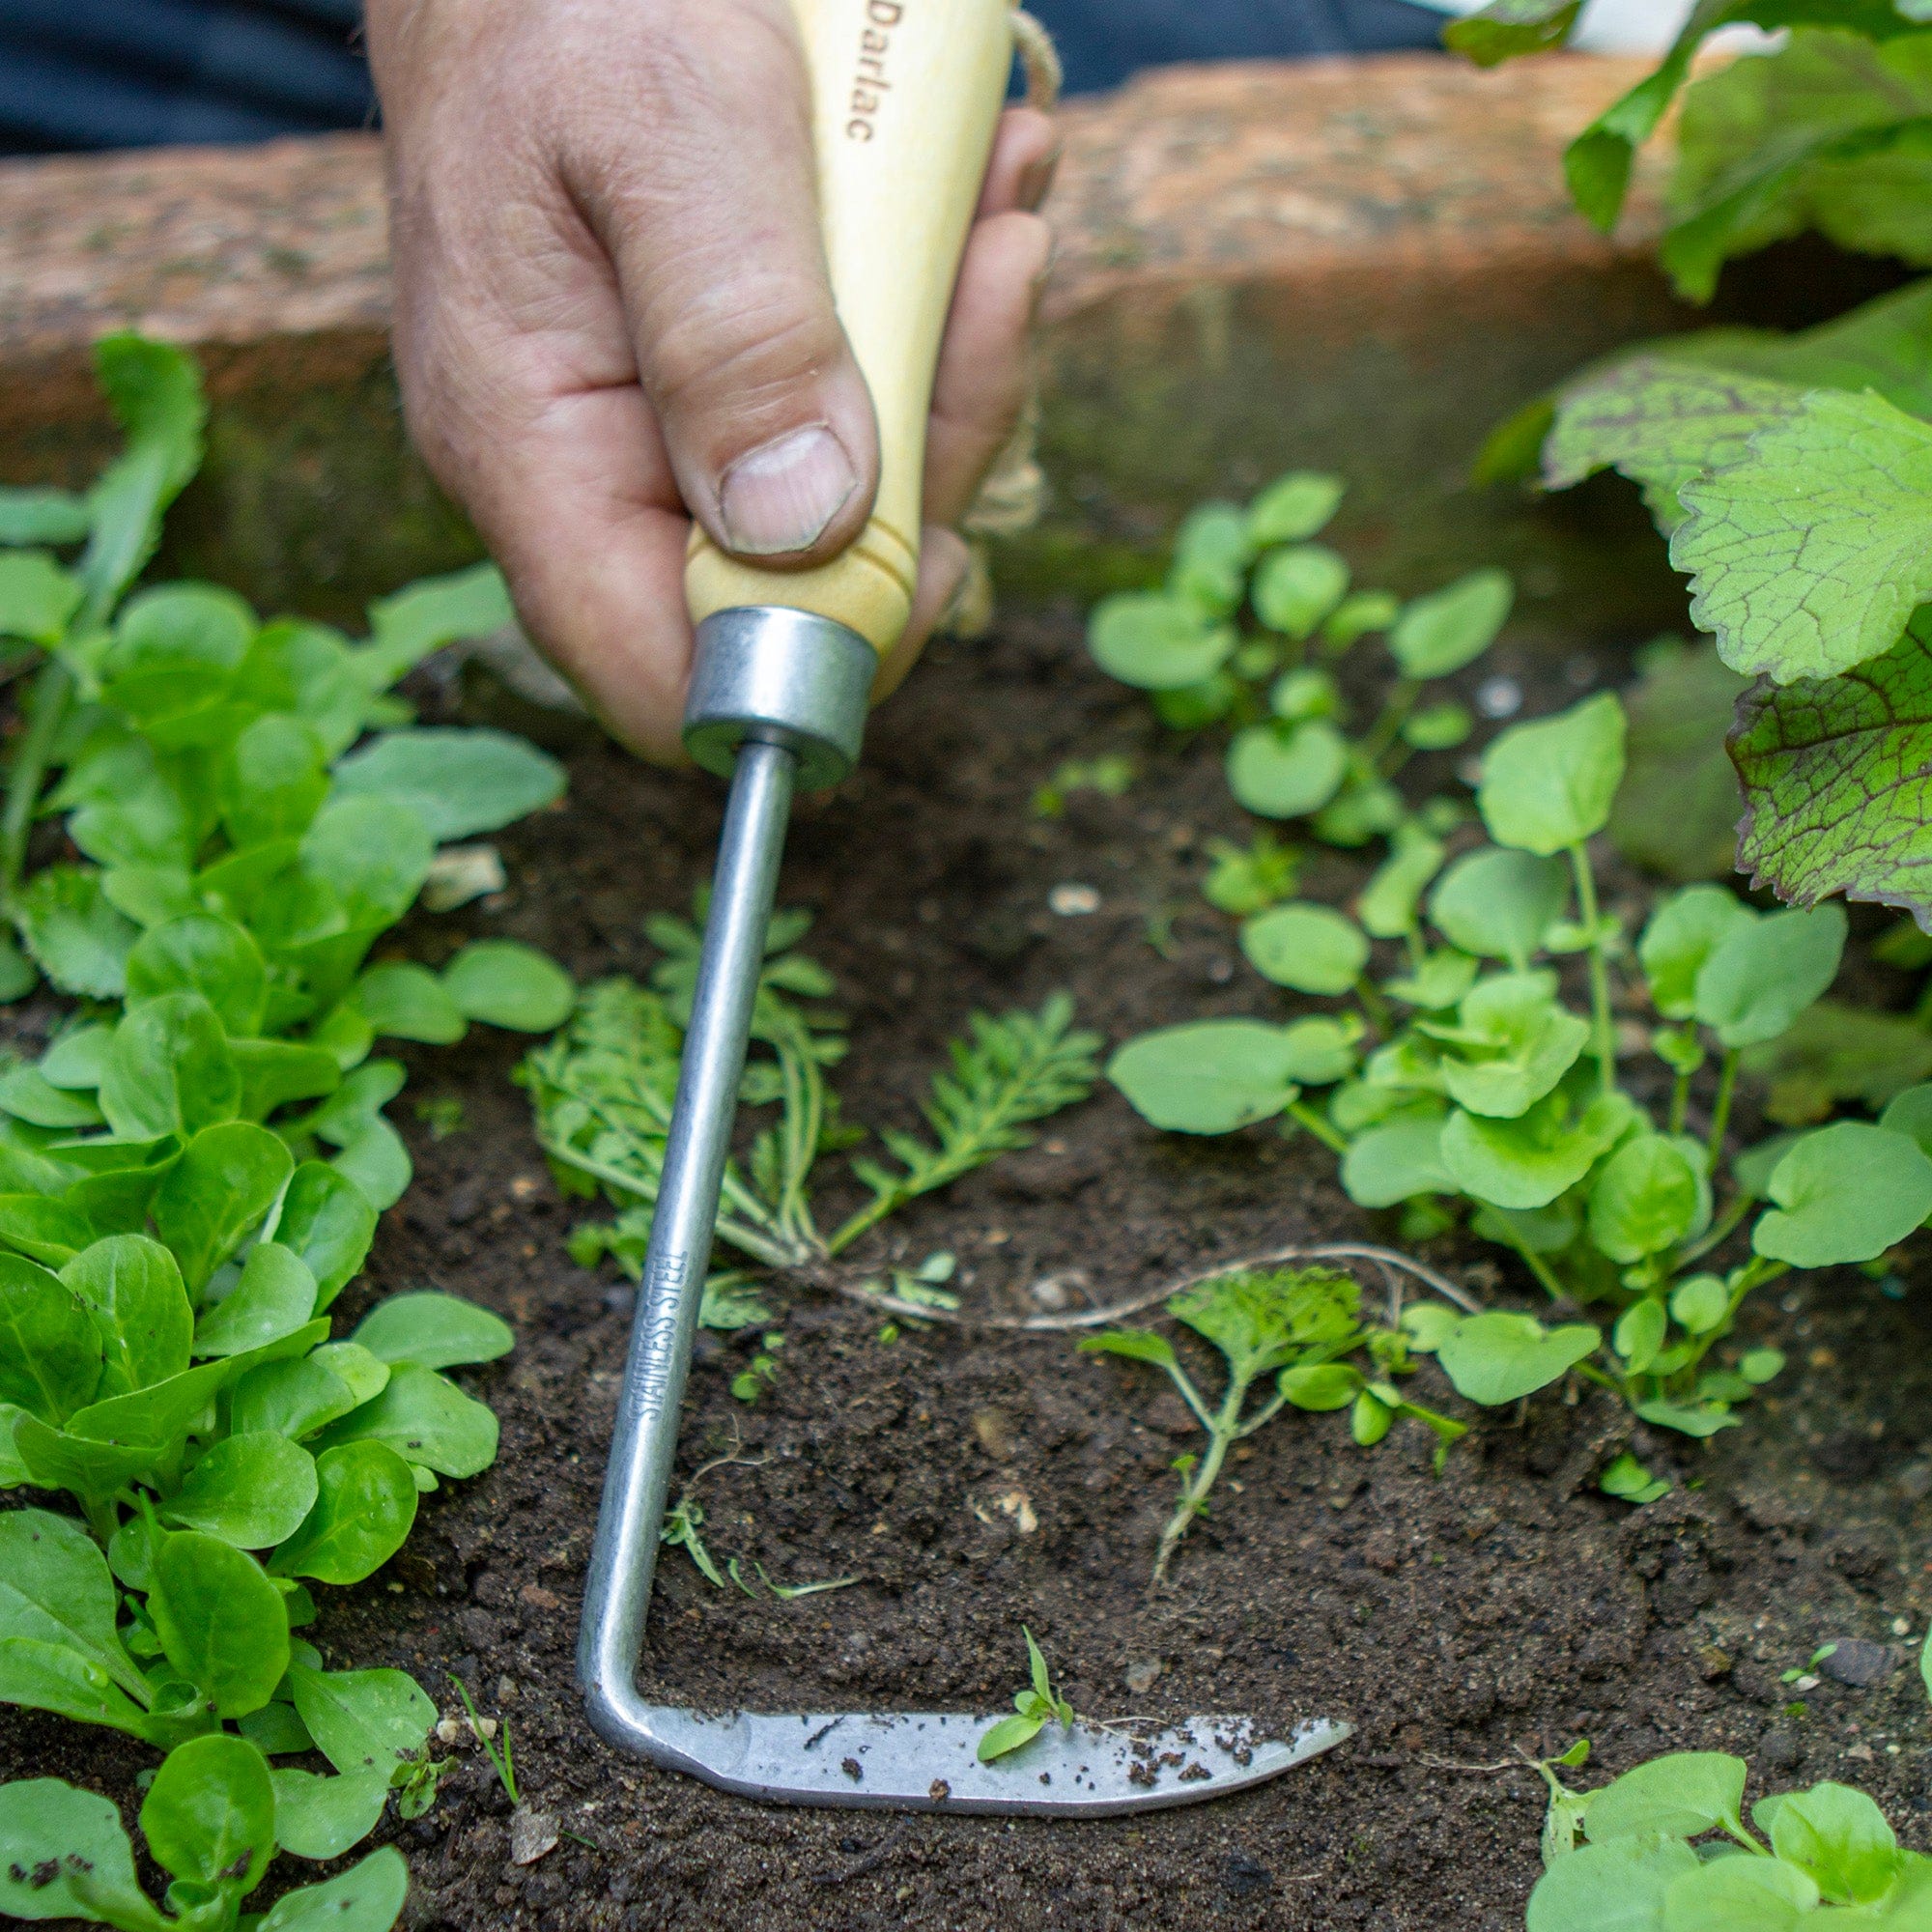
Keep weeds checked as dense weed growth will seriously affect yield. Water if the weather is dry (not otherwise) and feed occasionally. Feed an autumn-sown crop with a liquid fertilizer in March.
Onions form a bulb when the temperature and the number of daylight hours hit the right combination for them which triggers their clock. Until that happens, onions use the daylight to produce a good deal of top growth before they form bulbs (and the more top growth, the bigger the bulb). When the day reaches the right number of hours for that variety of onion, the onion will stop forming top growth, and form a bulb instead. The size of the bulb that eventually forms depends on the size of the "stalks", and the number of them. There will be 1 ring in the onion for every stalk that formed, and the larger the stalk, the larger each ring will be. Bulb formation will pause though during dry, very hot or very cold weather.
Break off any flower stems which appear. Mulching is useful for cutting down watering and for suppressing weeds. Stop watering once the onions have swollen and pull back the covering earth or mulch to expose the bulb surface to the sun.
When the bulb is mature the foliage turns yellow and topples over. Leave them for two weeks and then carefully lift with a fork on a dry day.
Onions which are not for immediate use must be dried. Spread out the bulbs on sacking or in trays; outdoors if the weather is warm and sunny or indoors if the weather is wet. Drying will take 7 to 21 days, depending on the size of the bulbs and air temperature. Inspect the bulbs carefully: all soft, spotted and thick-necked onions should be set aside for kitchen use or freezing. The rest can be stored.
Store in trays, net bags etc; anything where the air can circulate. Choose a cool and well-lit place to store them where they will keep until late spring.
Care & Cultivation of Garlic
Plant cloves in late autumn or early spring. Set 2.5cm (1in) deep and 10cm (4in) apart. Leave 15-20 cm (6-8in) between rows.
Garlic needs a cold, dormant period which is why it is best planted in the autumn. The long growing season is beneficial to the ripening process.
Plant with the base of the clove, the flattest part, on the bottom of the hole with at least 2.5cm (1in) of soil above the tip. Take care not to press the clove too firmly into the soil as this reduces root development.
Garlic prefers an open sunny position and well-drained soil. Do not plant in ground where onions have been planted the previous year. Keep free of weeds during the growing season. Mulch in spring to suppress weeds and water if necessary.
Garlic can also be grown in containers during the winter and planted out in spring. Ensure the container has good drainage and use a moisture retentive soil. Water regularly and place the container in a sunny position.
As soon as the leaves turn yellow you can begin to harvest; lift carefully with a fork and then leave to dry in the sun if the weather is warm or indoors if the weather is wet. Handle gently as they are easily bruised. Do not delay harvesting as this can cause the bulbs to shrivel.
Plant Elephant Garlic following the same directions as for garlic, but increase the spacing to 30cm (12in). They make attractive plants 120-150cm (4-5ft) tall with a purple flowering head. Plant from September, though planting up to March is possible but the likelihood of the clove producing one ’solo’ bulb is increased. To gain the largest Elephant Garlic bulbs, snip off the flowering head when it emerges. These can be used in cooking. Harvest the Elephant Garlic before the bulb begins to split. This is usually from mid June to the beginning of July.


