


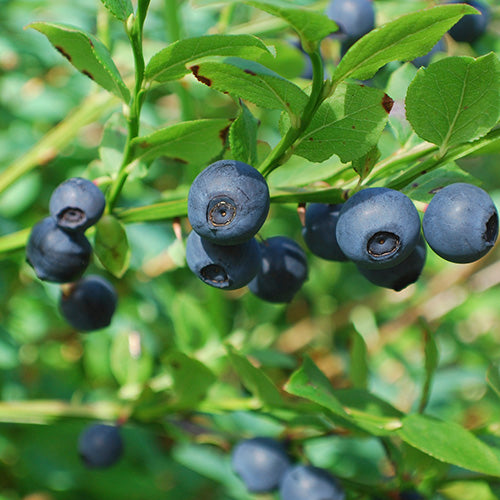
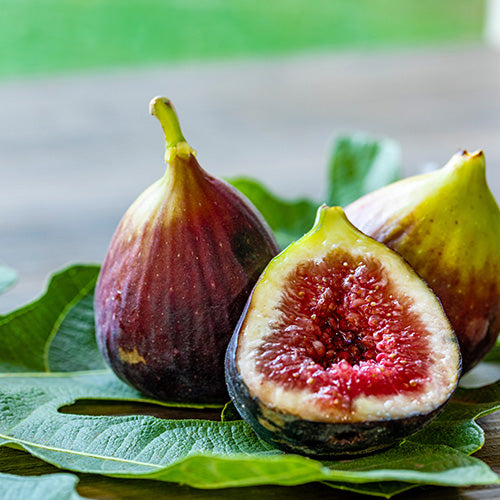
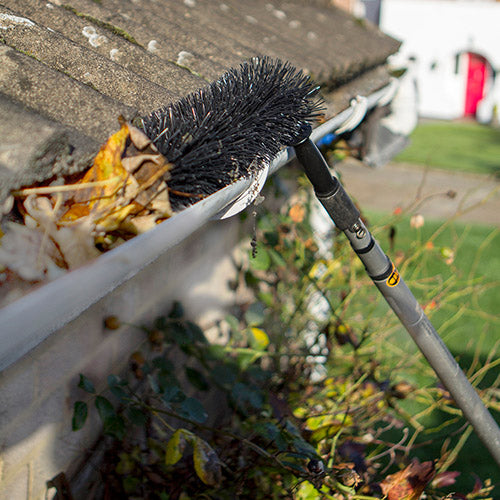


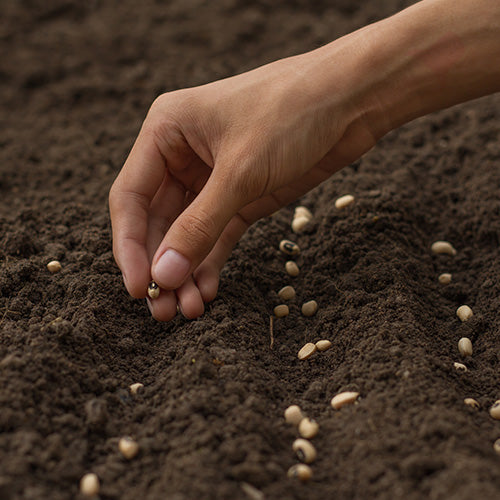
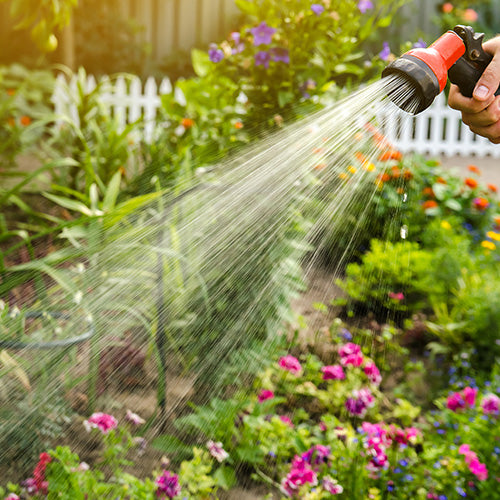
Some seeds are better suited to direct sowing… others require a little nurturing prior to being placed in their final growing space. In all cases it goes without saying, first and foremost read the packet. It will tell you the recommended time to sow and the recommended environment (temperature and spacing etc). It is possible to work around these guidelines, but you may not achieve the best germination and success.
So, You’ve Successfully Sown Trays Of Seedlings… But What Next?
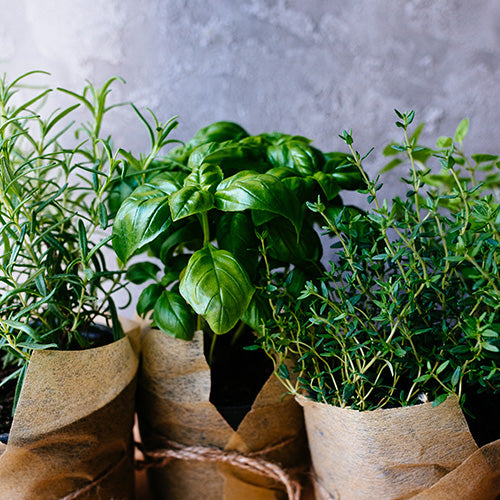
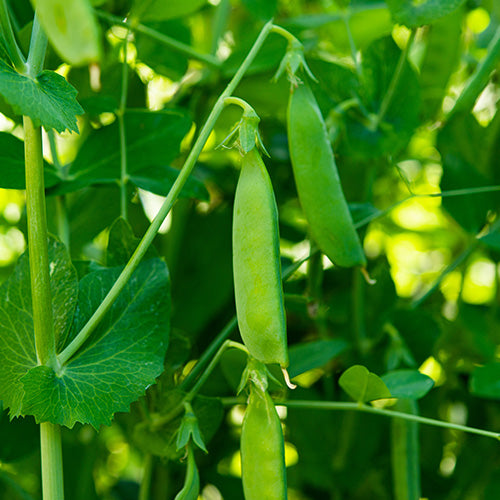
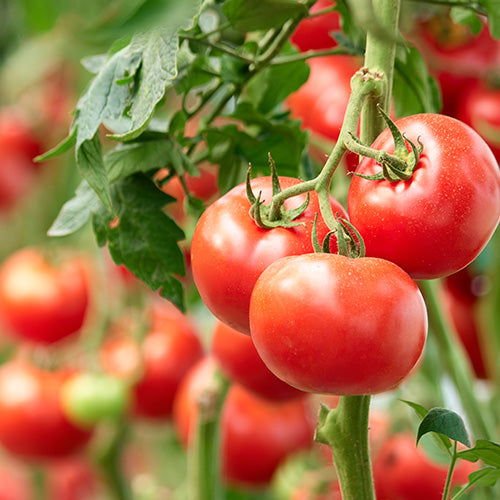
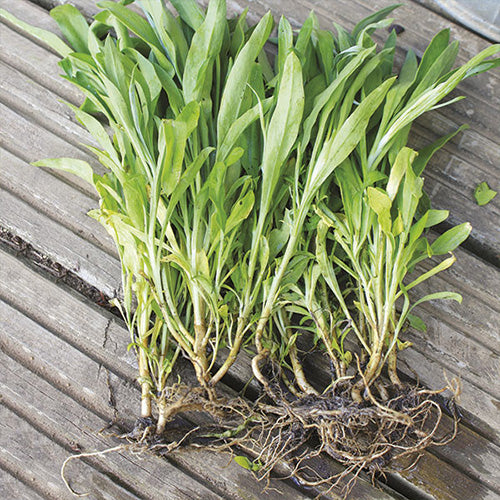
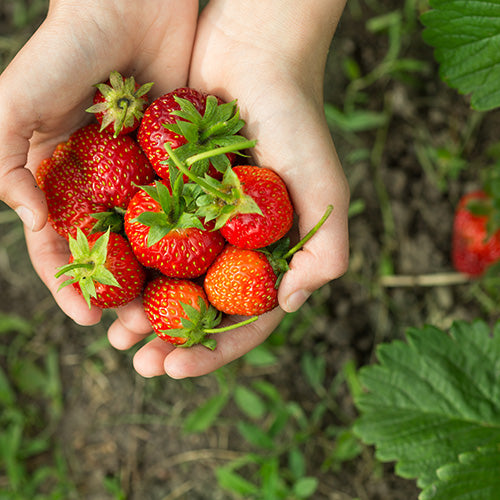
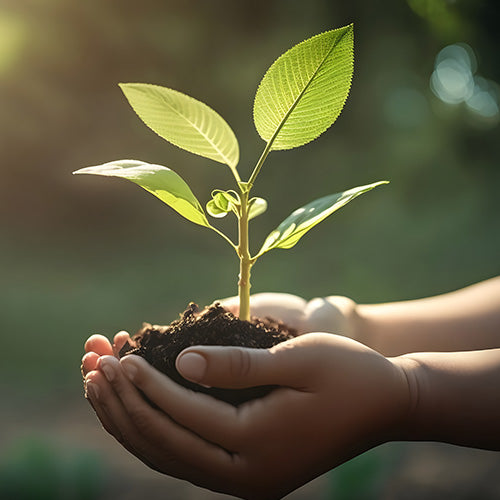
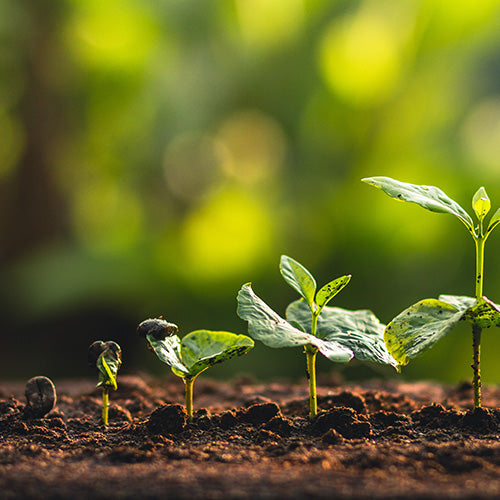
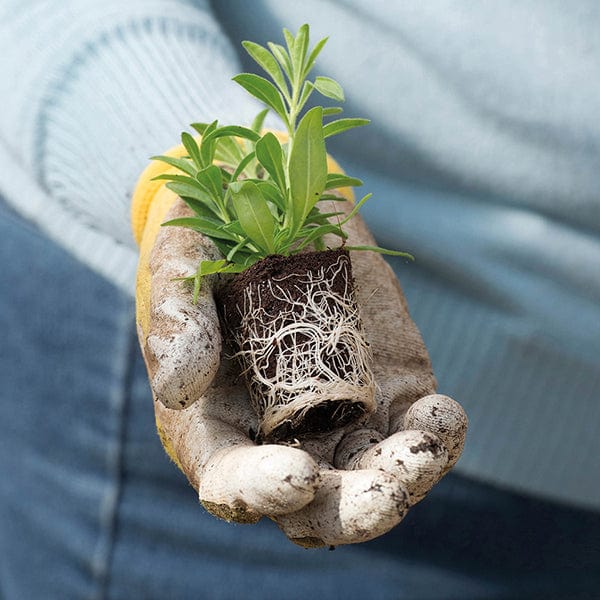
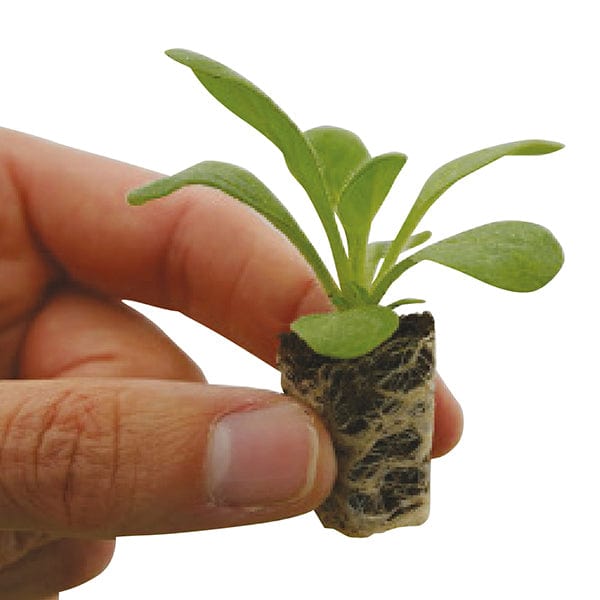
Pricking out is an essential part of growing plants from seed. The aim of pricking out is to separate seedlings away from their, now competition to allow enough space for strong root systems to establish. You are ready to start pricking out once seedlings have reached a size where they have enough of a root to gently tease out of the soil. Another way to know when it is the right time is when your seedlings have a true leaf following their first seed leaves.
Step One:
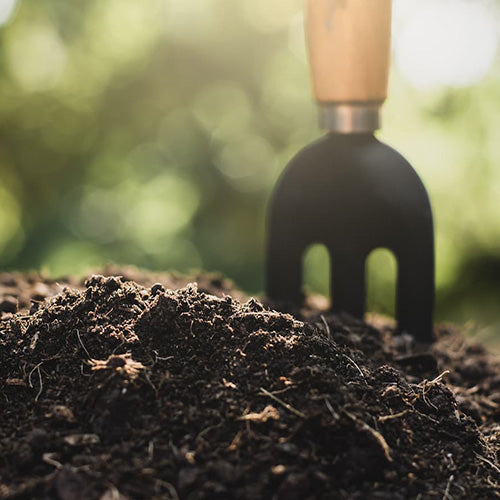
- Start by preparing your seed tray or pots for the seedlings. Fill the tray/pots with fresh, good quality potting compost to give the seedlings the best start.
Ideally the tray should be at least 3inches deep to allow for root growth.
Step Two:
- Level out the compost so of equal depth but without adding too much pressure to compact the compost. The compost can be firmed in more when the transplanted seedlings have been placed.
At this point we recommend gently watering the soil, not so its saturated but so its most enough to hold its shape when making indents for the transplanted seedlings. A fine mist will do.
Step Three:
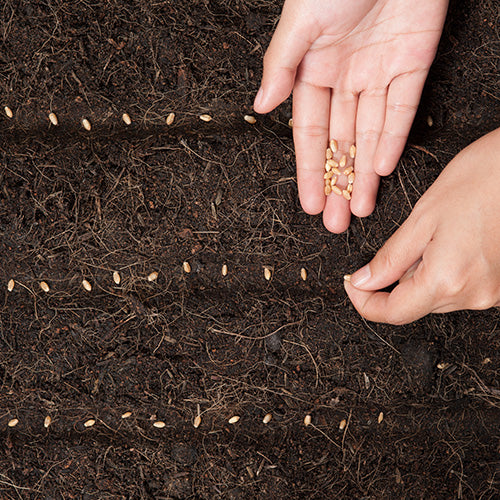
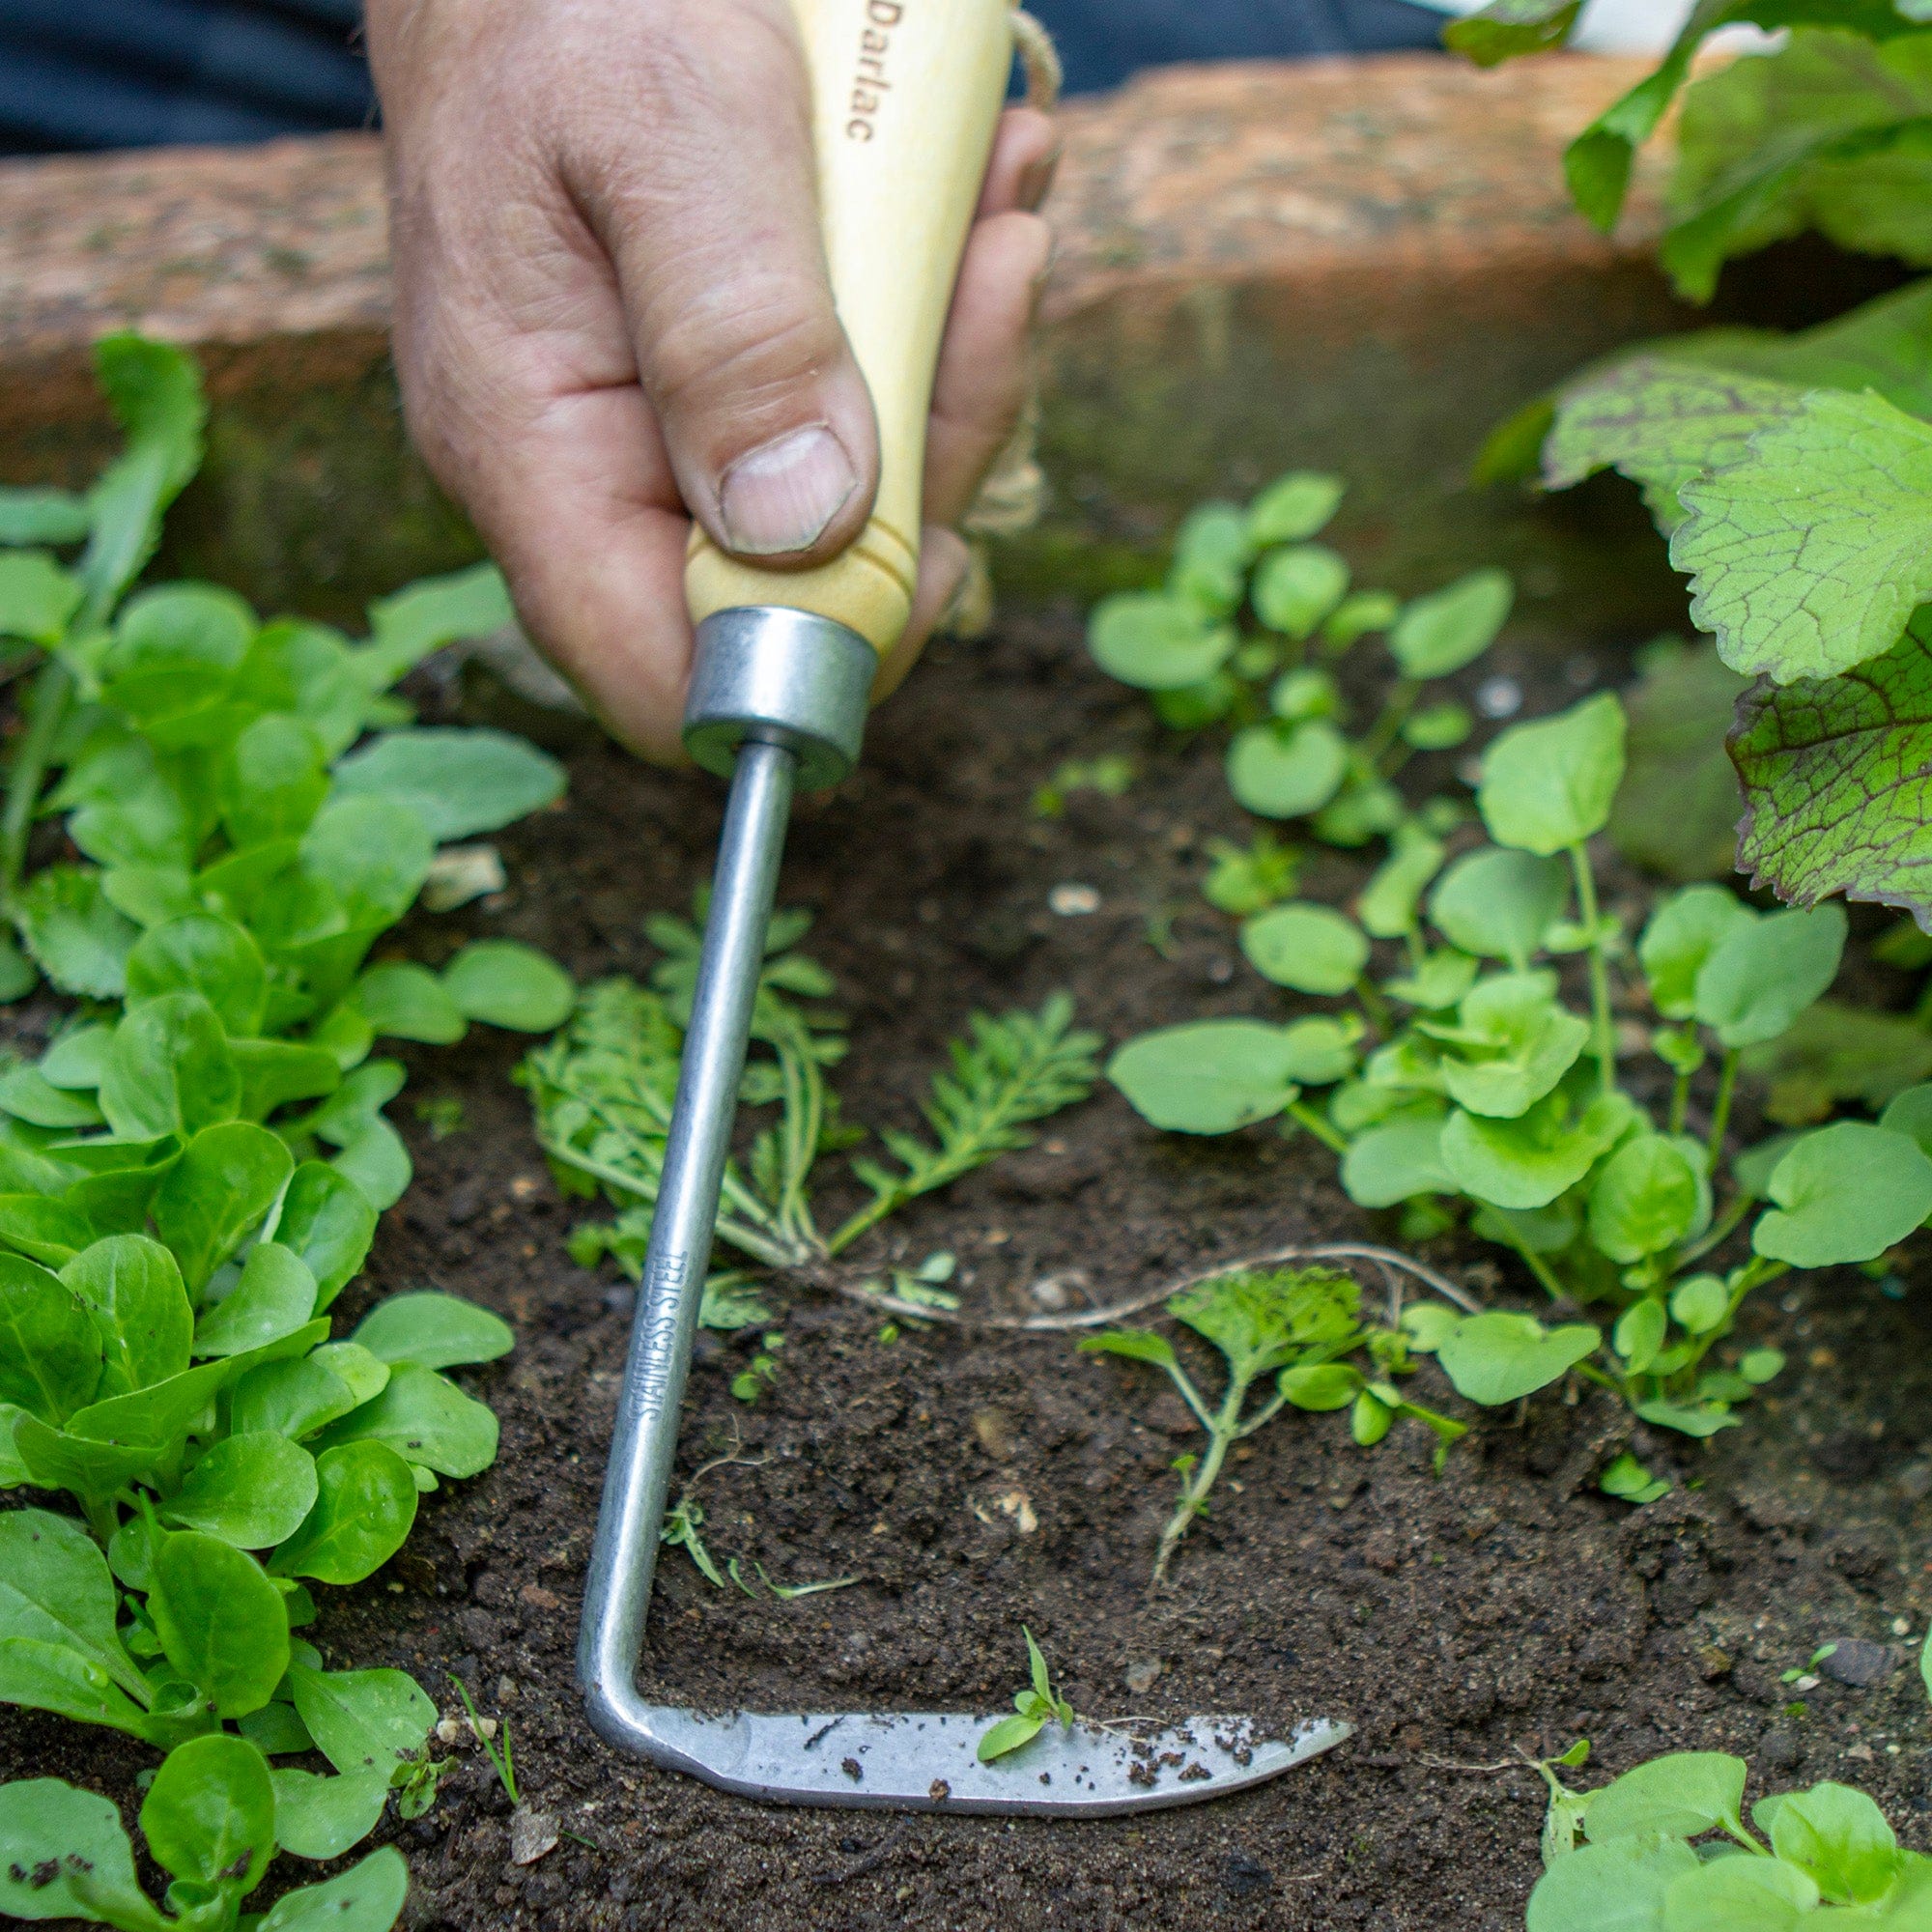
- You can now make a start on pricking out your seedlings by gently prising out the seedlings from your initial sowing tray. You can purchase tools to help handle the roots, however if you don’t have one to hand a pencil or similar will do. Keep the seedlings you are transferring, on a piece of paper. It’s not necessary but can help to reduce disturbing the soil and easier to pick up. It’s important that this stage is done with the upmost care and done one at a time to ensure the root system remains intact.
There are some fundamental don’ts here… Never hold a seedling by the stem. Always hold a seedling by its true leaf, not the first seed leaf.
Step Four:
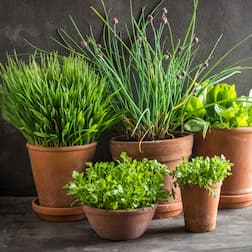
- At this stage you can then start to place your seedlings into the prepared seed tray/pots. Using your finger or tool make a small indent in the prepared compost big enough to plant the seedling. Plant the seedling in the tray and continue this process with your other seedlings until the tray is full or you have the desired out of plants. If not all the seedlings are going to be used, it goes without saying to choose the strongest ones to grow on.
Step Five:
- Once transplanted, be sure to firm in the compost to give some stability to the roots. Water in well and keep the larger pots and trays labelled. your young seedling will now have enough space to establish stronger root systems needed for the next stages of growth.


